This article contains complete instructions and procedures to install Startimes decoder and antenna. By learning from this article, you do not need an installer or another person to help you install your Startimes. The procedures in this article are very simple to understand for the benefit of those who may not have any experience on terrestrial TV installations. Furthermore, this article will teach you more on Startimes installation if you are already an installer or technician. From unpacking, coupling, connections, settings, signal search until Startimes starts working.
Maybe you wish to buy a new Startimes decoder and antenna or you own one already? Do you want to install or service your Startimes? I will show you a step-by-step guild on how to install and manage Startimes systems. Startimes is one of the cheapest digital multichannel pay-tv services in Nigeria and it is very easy to install. However easy it may be, it still presents a technical pattern that can give good results if you follow the procedure correctly.
There are many technical details in learning how to install Startimes Digital TV decoder and antenna. However, I shall simplify the procedure through these step-by-step method in this article. As a result, you would not need any technical experience to understand the explanations in this process. It is worthy of note that a proper installation means less need to always troubleshoot Startimes. Fortunately, the requirements are easy and few in number. They are;
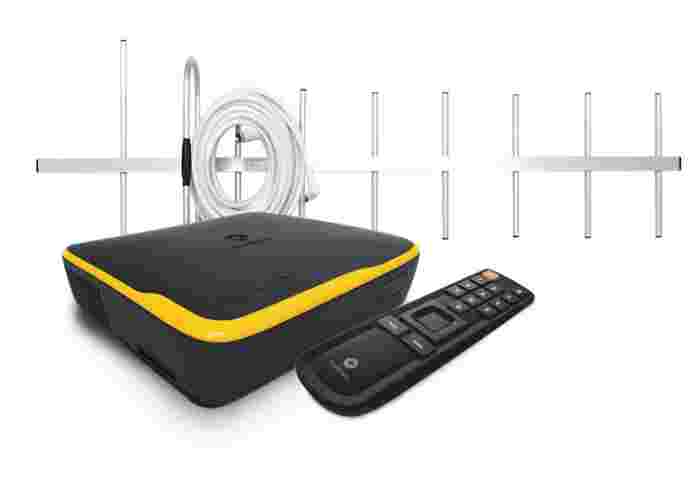
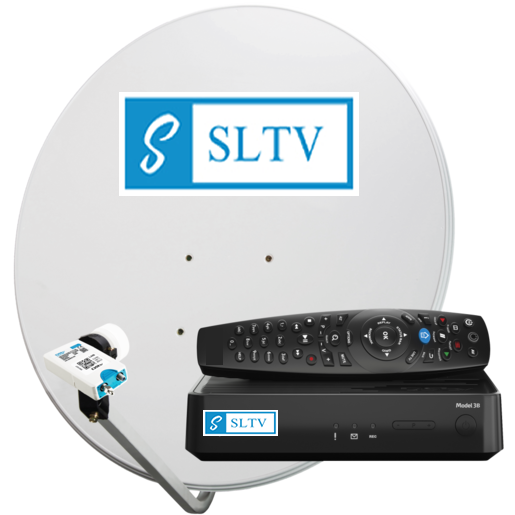
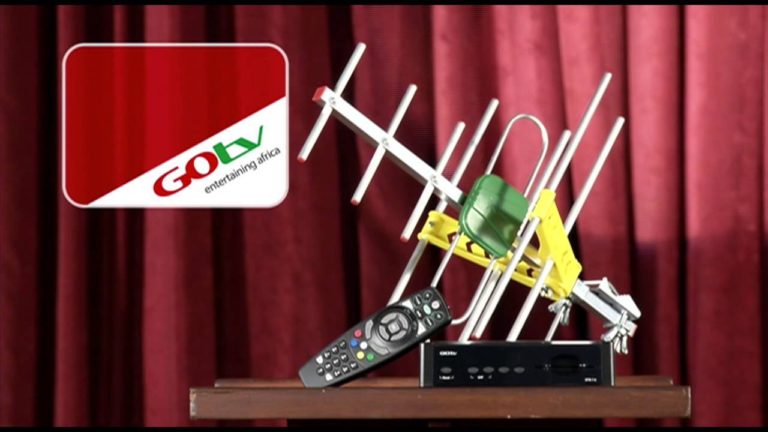
- Startimes antenna
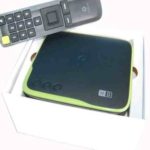
- decoder
- connecting cable wire
- external lengthy pole
- accessories which accompany the decoder and antenna on purchase.
Startimes Operational Technology
Let me take few minutes of your time to explain the technology behind the Startimes TV service. When you understand this process, it would help you appreciate the installation mechanism better and give desired results.
Startimes technology operates on digital terrestrial signal transmission called the Digital Video Broadcast Terrestrial technology DVB – T. This process uses high towered signal transmission masts to propagate signals within a geographical radius. All you require to capture this signal is a special ariel antenna connected to a signal decoder. This receiver is set at same frequency parameters with the propagated signal. Always remember that the best signal reception comes when there are no obstructions around your ariel antenna on its towering position.
A good sign of perfect installation is the reception of full and steady signal. With quality signals, it is easy to restore channels after paying for Startimes subscriptions. Most times however, Startimes error codes give away the presence of technical or installation failures. But a good understanding of Startimes error codes makes it easy to resolve all installation or technical problems on Startimes.
Step-by-Step Process to Install Startimes
You can copy this section and save it anywhere accessible for easy recall when installing Startimes digital TV decoder and antenna. When you disassemble the antenna from its pack, so many accessories may look confusing. Be careful as not to misplace even the smallest of these items as they perform unique functions in the installation procedure. Here are the Startimes installation steps to follow;
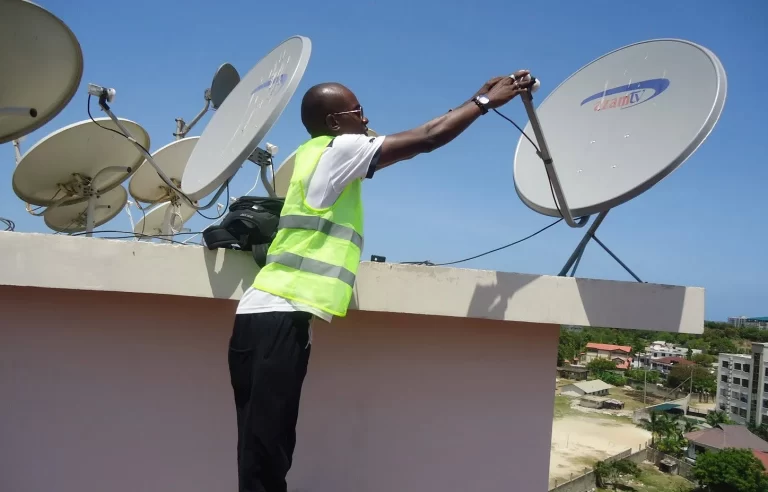
- insert the long pole-end through the antenna hole and tighten the antenna rolling screws firmly. Continue this until the pole laps tightly on the antenna back hole.
- Notice that the connection cable wire has a screw end, which you connect to the circuit box of the antenna facing down. Screw in the wire and ensure it goes in smoothly and tightly.
- Remember to insulate or cover the wire screw end with a water-proof masking tape. This is to prevent air or moisture penetration, which causes rusting.
- Tie the cable wire gently but firmly to the pole. This ensures that the wire does not sway its weight down and disengage from the antenna circuit box when the pole is lifted up.
- The success of your Startimes decoder and antenna installation largely depends on the level of signal it captures. To ensure this, raise the pole high above any other obstruction. See this article how to boost TV antenna signals in order to learn what kinds of obstructions to avoid. Stay away from all such obstructions.
- Since it is a terrestrial signal receptor, your Startimes antenna needs to face directly or relatively towards the transmission mast nearest to your locality. You can find out the mast position by asking dealer offices around you.
- After these steps, connect the other end of your cable wire to the ANTENNA – IN port behind your Startimes decoder. Switch ON your decoder, run a scan and enjoy the thrilling view of the super digital Startimes pay-TV service.
Who Can Learn Startimes Installation
It does not matter whether you are male or female. You can comfortably learn how to install Startimes digital TV decoder and antenna. If you encounter any problems in the process, come back to this page and ask me questions through the comment space below. I promise to give you a speedy feedback as soon as possible.


thank you for the information