Previously I made a publication on the decoder settings and installation guidelines of the StarSat digital satellite TV. It was necessitated by huge enquiries coming from my readers globally especially from Africa. In a continual quest to simplify StarSat satellite decoder installation, I shall show you another simple way to install the StarSat digital satellite TV service using the Strong decoder.
The Strong Decoder has got a reputation for its wide application, ranging from its ability to capture too many free-to-air channels on MyTV satellite, ability to track signals from too many TV satellites, and now you can even easily install your StarSat decoder using the Strong decoder.
Procedure for using Strong Decoder Technology to Install The StarSat Digital Satellite TV
-
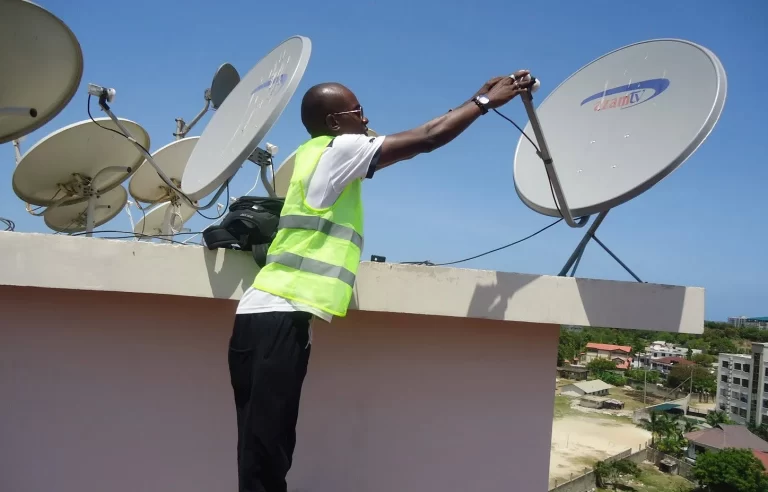
You must have coupled your satellite dish and hosted it on a wall or a pole.
-
Connect the dish cable or wire to a Strong decoder and set the Strong decoder transponder frequency to 11940V/27500.
-
Skew or turn your satellite dish to a 5 degree East direction to enable you track the signal at that chosen frequency.
-
Once signal is captured, remove your Strong Decoder and fix your StarSat Decoder. Put it on, select Nigeria where appropriate and let it scan.
-
After an update and in about 5 minutes, the StarSat decoder would start showing. For a full software update of the StarSat decoder, it would take up to 20 minutes and it is advised that your decoder must not switched off nor its power interrupted during this software upgrade stage. The effect could be damaging.
I hope this piece of information makes your StarSat installation a sweet adventure. Do not keep this info to yourself, kindly share with friends on the socials to keep them in the know too.


